Connecting Non-Cloud-Enabled POS Systems to Casona
POS systems from various providers can be connected to Casona. These include, for example, Hypersoft and Leaf. You can find the instructions for restaurant POS systems here.
Preparing the Local POS System
Enable the hotel PMS interface in the POS system or have it set up by your POS manufacturer’s customer support. You’ll need the option in the user interface to assign payments to a hotel room.
Create a Casona User for the POS System
First, you must create login credentials for the POS system. To do this, add a new employee to the employee list and give them a last name such as “POS.” Set up an email address and a password. You can use a fictitious email address at this point, since no emails are sent to the POS system. The email address and password will be needed later.
Installation for Windows
- Download the latest setup file here:
Casona Connect (v0.1.0) for Windows 10 & 11 - Your browser may display a warning message to alert you to potential malware. If this happens, confirm that you want to proceed with the download.
- Double-click the downloaded setup program.
- You will likely now see a warning from Windows in the form of a red box.
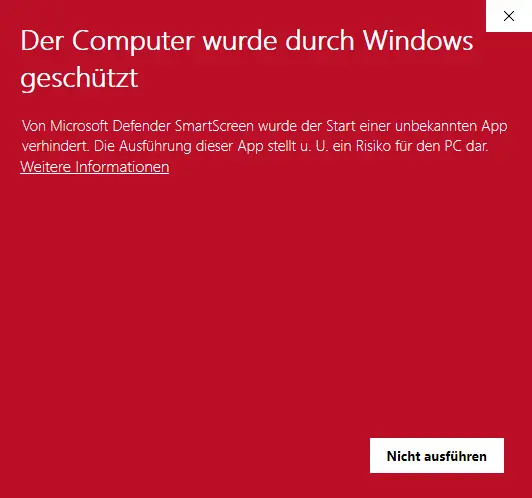
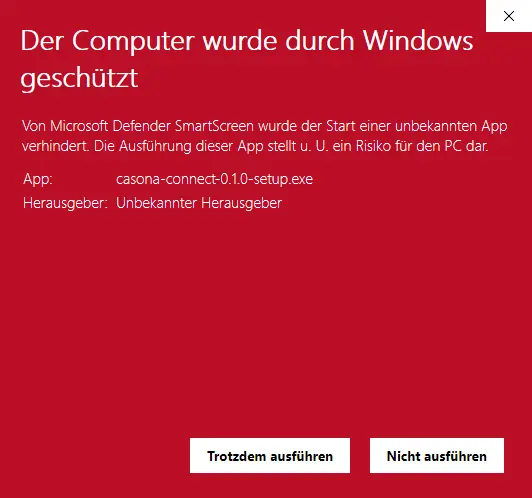
- Click "More Information" and select "Run Anyway" at the bottom.
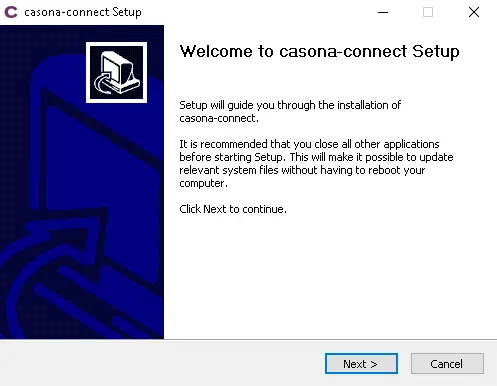
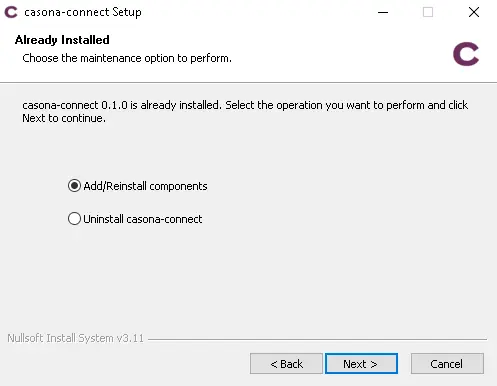
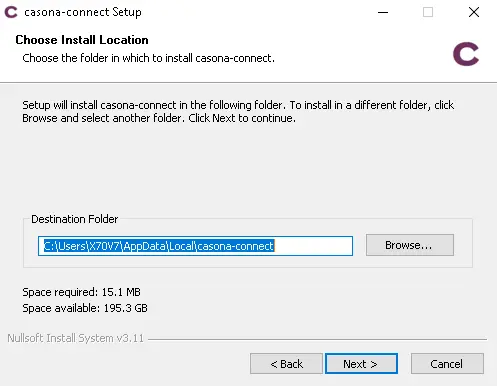
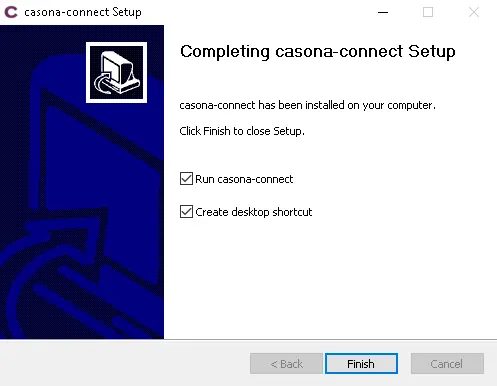
- The actual installation of the software will now begin. Click "Next >" at the bottom of the screen for each installation step, and then click "Finish" when you're done.
Setting Up Casona Connect
- Launch Casona Connect by double-clicking the icon on the desktop, if it hasn't already started automatically.
- Enter the email address and password for the user account you created for the POS system at the beginning.
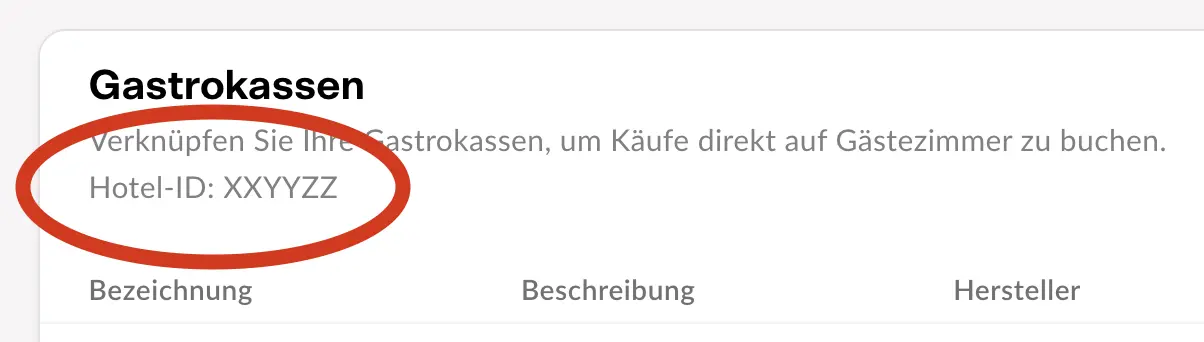
- In the “Hotel” field, enter the hotel ID displayed in Casona under the settings for the restaurant POS systems. Be sure to use the correct uppercase and lowercase letters. Example:
XXYYZZ
- Click "Select Folder" and locate the folder specified as the exchange folder in your POS system. This folder may be located in the "Network" section. Example:
\\HSLSPRO-01\Daten\Hotel
If you have any questions about the correct folder, please contact the POS manufacturer's support team. - Your POS system will now exchange data with Casona when you make room reservations. The transfer may be delayed by a few seconds.
